How To Use Tilemap Navigation in Godot
Here’s a super common problem in Godot: Let’s say you create a level with a tilemap and want characters (like the player, enemies, or NPCs) to be able to navigate the map.
In the simplest case, you could create a target position and just move the character towards it each frame, but what if there’s obstacles? What if it gets caught on a collider? What if we want certain tiles to block the path, while others allow free movement?
This can all be solved by using a Navigation Mesh.
Before we get started, huge thanks to Cashew OldDew’s YouTube tutorial for showing this process. If you prefer video tutorials, I’d highly recommend checking that out instead.
Setup The Nodes
To get started, we’ll need the following nodes added to our main scene tree:
- NavigationRegion2D - This describes the area (AKA NavigationPolygon or NavMesh, they all mean the same thing) that our characters are allowed to move through to reach their target. Be aware this will ignore colliders, so we’ll need to make sure those are cut out (we’ll get back to that)
- TileMap - This renders our tiles to the screen, and allows us to easily paint tiles into our world
- CharacterBody2D - This will represent the character we want to move in our NavMesh (ex. player, enemy, NPC)
- NavigationAgent2D - This will provide the pathfinding by using a
target_positionand moving towards it using the NavMesh - Sprite2D/AnimatedSprite2D - This will render the character sprite to the screen
- CollisionShape2D - This defines the character’s shape for physics collisions
- NavigationAgent2D - This will provide the pathfinding by using a
It’s important to place the
TileMapas a child of theNavigationRegion2D, otherwise the NavMesh won’t include the obstacles. Once we setup the Physics layer of the tileset and bake the NavMesh, this will happen automatically
Configuring The Tile Set
After creating the Tilemap node:
- Select the
Tile Setproperty to create a new tile set resource - In the bottom middle editor window (where the Debugger panel is), select
TileSet. Click the+icon to create a new tile set - Drag in your tile set image to create a new SpriteAtlas resource. There’s lots of settings to define your tiles, but the automatic slicing is impressively good
At this point, you can select the TileMap tab at the bottom and play around with painting tiles onto your screen with paint tools. This isn’t intended to be a full tilemap tutorial, so I’d highly recommend reading the docs if this is unfamiliar.
Configure The NavMesh
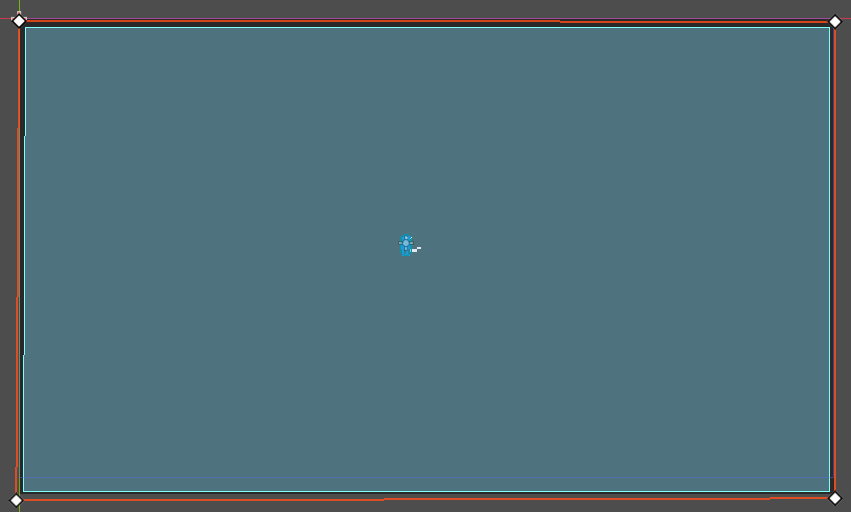
Back in the NavigationRegion2D node, use the “Create Points” tool at the top of the viewport to draw a large rectangle that fully encompasses your map. I chose to just cover the entire viewport.
 NavigationRegion2d Tools
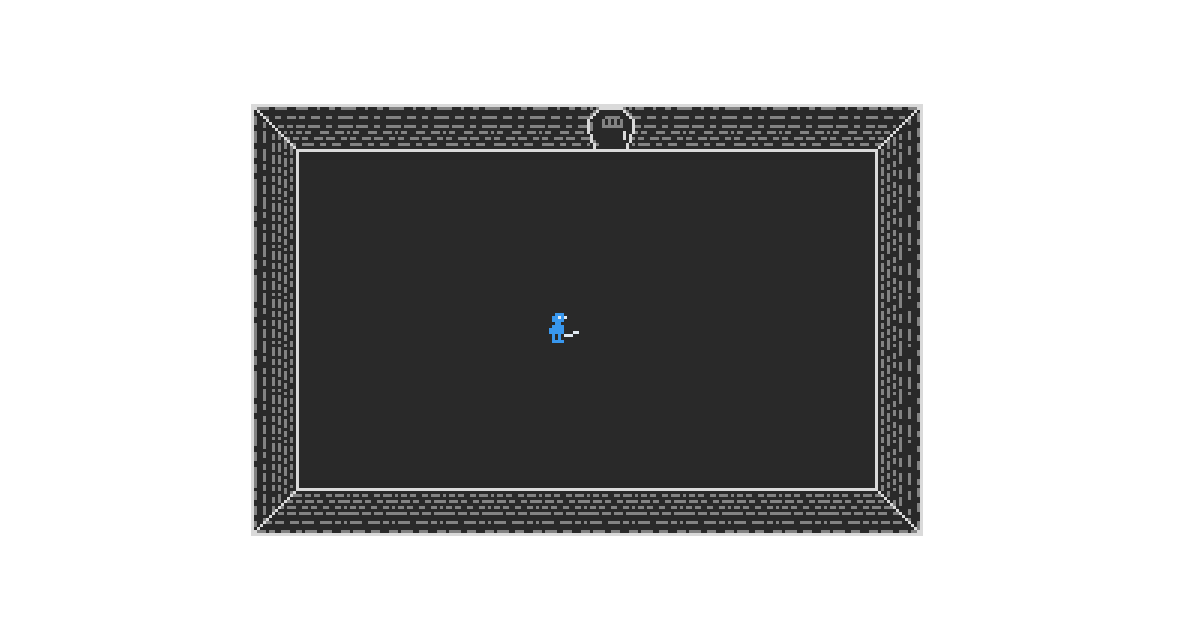
On the toolbar, find the “Bake NavigationPolygon” option. Click it. This is used to update the NavMesh if we move our points or add new colliders to our children nodes. We’ll use this button whenever we update our tile map, as it unfortunately will not update automatically. You should see the Navigation Polygon drawn in a blue debug color:
 Blank NavMesh after Baking
Add Movement To Our Agent
Let’s add some movement to our character. Make sure you:
- Add a sprite resource to the
Sprite2Dchild so the character is visible - Add a shape resource to the
CollisionShape2Dso it can collide with other objects
We’re taking the example code from the documentation.
Add the following script to CharacterBody2D:
1
2
3
4
5
6
7
8
9
10
11
12
13
14
15
16
17
18
19
20
21
22
23
24
25
26
27
28
29
30
31
32
33
34
35
36
37
extends CharacterBody2D

var movement_speed: float = 150.0
var movement_target_position: Vector2 = Vector2(60.0,180.0)

@onready var navigation_agent: NavigationAgent2D = $NavigationAgent2D

func _ready():
	# These values need to be adjusted for the actor's speed
	# and the navigation layout.
	navigation_agent.path_desired_distance = 4.0
	navigation_agent.target_desired_distance = 4.0

	# Make sure to not await during _ready.
	call_deferred("actor_setup")

func actor_setup():
	# Wait for the first physics frame so the NavigationServer can sync.
	await get_tree().physics_frame

	# Now that the navigation map is no longer empty, set the movement target.
	set_movement_target(movement_target_position)

func set_movement_target(movement_target: Vector2):
	navigation_agent.target_position = movement_target

func _physics_process(delta):
	if navigation_agent.is_navigation_finished():
		return

	var current_agent_position: Vector2 = global_position
	var next_path_position: Vector2 = navigation_agent.get_next_path_position()

	velocity = current_agent_position.direction_to(next_path_position) * movement_speed

	move_and_slide()
There’s a lot to cover here, but the important stuff is in the _physics_process() function. It calls on the navigation_agent to get the next position the character should move to follow the navigation path. Using this position, it updates the character velocity, and calls move_and_slide() to apply movement based on this velocity.
Depending on your map size, update the
movement_target_positionvariable to change where the character moves to. We’ll add mouse click functionality later
Add Colliders To Our Tiles
If you run the game currently and have any obstacles, you might notice that the character moves directly through them. To fix this, we’ll add a Physics layer to the tileset.
In the Tileset panel, select your tileset and change the “Paint Properties” dropdown to “Physics Layer 0”
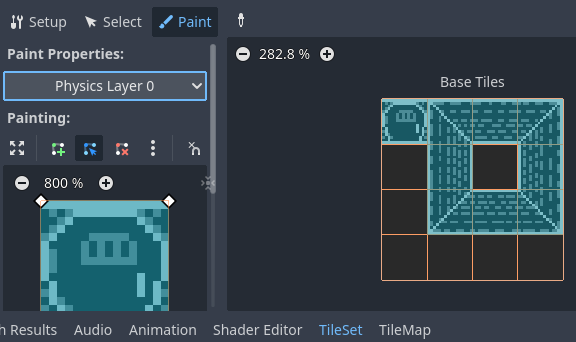 Tileset Physics Layer Dropdown
This will allow you to create collider shapes for each of your tiles.
Once that is complete, navigate to the Tilemap inspector and find the “Physics Layers” section. In my case, I set
- Layer 1 = Obstactles
- Layer 2 = Player
- Layer 3 = Enemies
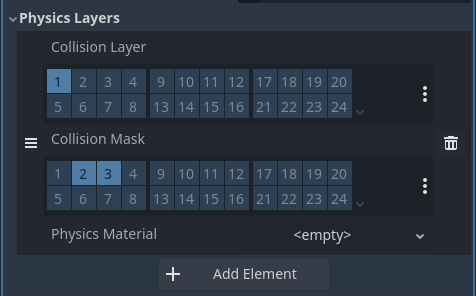 Tilemap Inspector Physics Layer
Bake Our NavMesh
Finally, we can go back to our NavigationRegion2D and click the bake button. This should draw a new polygon area based on our collider tiles!
 New NavMesh Using Tilemap
You’re now ready to navigate within the tilemap!
Optional Click Movement
To make the character move to the position you click, add a script to your main scene node with the following content:
1
2
3
4
5
6
7
8
9
10
11
12
13
14
15
16
17
extends Node

func _ready():
	# Connect the input event to this script
	set_process_input(true)

func _input(event):
	if event is InputEventMouseButton and event.pressed:
		# Check if the event is a left mouse button click
		if event.button_index == MOUSE_BUTTON_LEFT:
			# Get the click position
			var click_position = event.position
			# Get the child node named "NPC"
			var npc = $NPC
			if npc:
				# Call the set_movement_target method with the click position
				npc.set_movement_target(click_position)
Just be sure you rename your CharacterBody2D to “NPC” or the script won’t be able to find your character.
Improvements
Reduce NavMesh Margins
By default, NavigationPolygons use 10 pixels to pad space from colliders. You can change this by
- Select
NavigationRegion2Dnode - Select the Navigation Polygon in the inspector
- Select “Agents”
- Change the Radius to something smaller, I used 3. Just be aware going too small can cause problems with collisions
Improve Movement Smoothness
Sometimes you may notice your character snagging on colliders as they move. This can be fixed by increasing the radius using the section above, or:
- Select
CharacterBody2Dnode - In the inpector:
- Change “Motion Mode” to “Floating”
- Change “Wall Min Slide Angle” to “0”
This allows your character to slide past colliders in a much smoother way.