Learning React by Copying Wordle
I’ll be honest, I make a lot of little projects that never go anywhere. However, I think it’s important to appreciate these projects. Sometimes you learn something from them. Sometimes you can reuse them for a future project. And sometimes you just enjoy the result, even if you don’t share it with anyone.
For this project, I decided to create a clone of Wordle. Originally, I wanted to do some overly-complex “consequences” to make it more interesting. Things like crashing your computer, messaging something embarassing to your contact, or just draining your bank account. Obviously I decided against that, but the implementation of Wordle was actually really enjoyable.
First Steps
I started Wordle like I do most other projects, as a new git repo and a basic index.html file. There’s definitely faster ways to prototype using frameworks (more on that later), but there’s something about using just pure HTML, CSS, JS for getting starting. Personally, I’m a big fan of VS Code’s “Live Server” extension for one-click server starting
Quick Aside: Why do you even need a server?
I think this is a really overlooked question by developers. If all the files are already in a directory on your device, why do they needed served to your web browser? Why can’t you just open them directly with a browser?
And to be honest, you can.
However, you’ll quickly realize your browser enforces some restrictions for security. One of the most obvious is trying to access other files (for example, and image in the same directory) won’t work.
Project Breakdown
Here’s a quick breakdown of the functionality of this project
First, we need to render a grid of “guess tiles” for the user to populate with letters. These will be arranged in a grid (ideally with a configurable width for word length and height for allowable-guess-count) and will be centered on the screen.
Underneath that will be a simple QWERTY keyboard with smaller, similarly-styled tiles that can be clicked (or touched on mobile) to choose letters.
When a key is pressed on either the physical keyboard or the onscreen one, the next available tile in the guess grid should update it’s value to the pressed key. If this is the last letter in the row, we should:
- Validate the word. If it’s not in our “real word” list, notify the user and clear the word/reset the “next letter” position
- Update the tile colors to give user feedback. This should have a nice little animation
- Check for the win condition (word guessed) or lose condition (no more guesses left) and change the state accordingly
Version 1: HTML, CSS, and JS
The first day I worked on this, I threw together a basic prototype with the following functions:
- Rendering a 5x6 grid of tiles
- Listening to the key press event on the root element, then updating the next tile to the selected key code
- That’s literally it
Even with this basic of a layout, I was already feeling like I’d outgrown a single JS file. If I wanted to implement the rest of the functionality while still keeping things (somewhat) clean, I could break this out into different JS scripts or…
Version 2: Learning React
… learn React. This wasn’t a well thought out and researched decision, I really just wanted a good starter project to learn React, as I don’t have much experience with it (Tic Tac Toe tutorial, anyone?). Here’s a few other ideas I considered:
- JS modules
- Web components
- Literally any other of the 1000 front end frameworks
Ultimately I went with React because it’s popular and we’ll be using it at my work soon, so I’d like to get some familiarity with it.
Takeaways from React
I’m not going to describe everything I learned about React, because the docs already do a great job at that, so instead I’d like to highlight some of the things that stood out/cause problems/interested me.
Treat state as immutable
This caused some problems for me early on, as I tried to create a state hook for the current guesses of users. For simplicity, this was an array of arrays that hold a single key. Learning to use the setState function I defined cleared up my issues
Reading state right after writing
Related to above, I found I ran into a lot of problems when updating the guesses state, then trying to validate and check for words. It turns out setState can run asynchronously and subsequent reads can return the old value. To fix this, I created a newGuesses object that I would update and read from, and only call setState at the very end of my logic on the newGuesses object
Attaching an event listener to the root element
This one was suprisingly hard, given how easy it is in pure JS. In the first draft of this project, I attached an event listener to the KeyDown event to the root element of the page. This way, the user could just open the page and hit a key for it to be handled by my function. However, this proved to be a little harder in React.
Ultimately I ended using the useEffect hook to attach a listener to the the root element. This took some trial and error, but allowed me to keep the same functionality as the prototype.
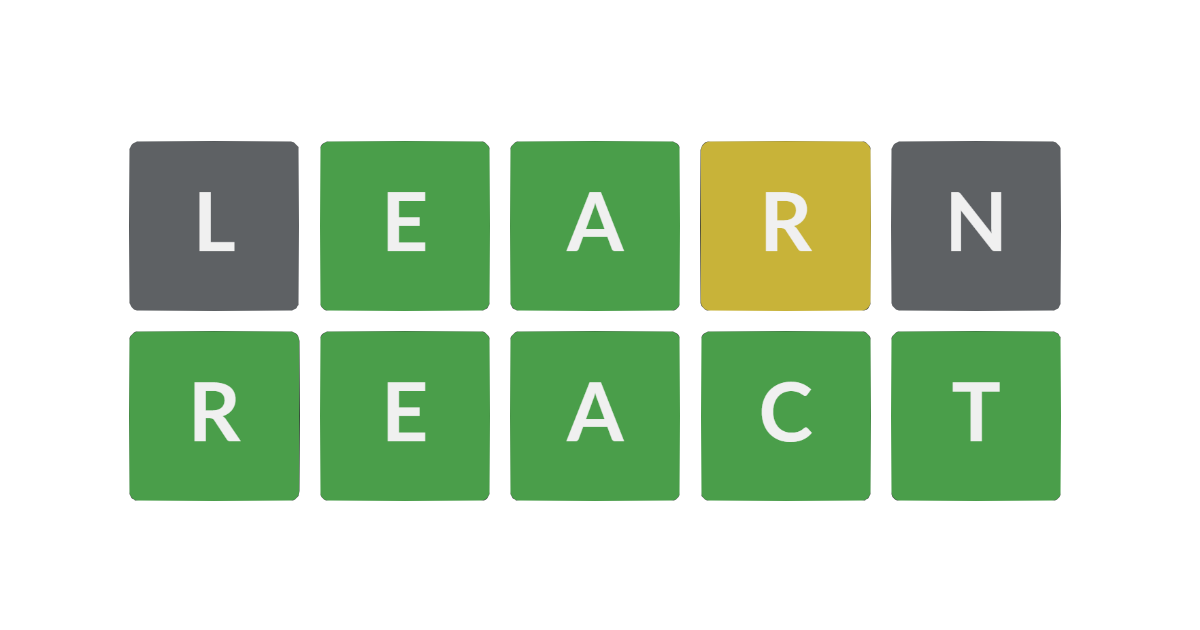
Animation
By far the coolest thing I learned from this project was CSS animations. I needed the letter tiles to sequentially “flip” to their new color from left to right when the user entered an entire word:
I thought this might be a huge pain, but it was actually pretty simple:
1
2
3
4
5
6
7
8
9
10
11
12
13
14
15
16
17
18
19
20
21
22
23
24
25
26
27
28
29
30
31
32
33
34
35
/* Define the animation named "tile-rotate */
@keyframes tile-rotate {
    0% {
        transform: rotateX(0deg);
        background-color: #5e6164;
    }
    49.9999% {
        transform: rotateX(90deg);
    }
    50% {
        transform: rotateX(270deg);
        background-color: initial;
    }
    100% {
        transform: rotateX(360deg);
    }
}

.tile-correct, .tile-wrong-place, .tile-incorrect {
    /* Call the animation. This will run as soon as the class is added */
    animation: tile-rotate 1s;
    animation-fill-mode: backwards;
}

.tile-correct {
    background-color: var(--success-color);
}

.tile-wrong-place {
    background-color: var(--warning-color);
}

.tile-error {
    background-color: var(--error-color);
}
To understand how this works, it’s important to know that after a user enters a complete word, it is validated and each tile gets a new class based on the letter it contains. The added classes are:
.tile-correct.tile-wrong-place.tile-error
These classes are added at the exact same time
Basic flip animation
First we define the animation with @keyframes <animation-name>. Since I wanted the tile to appear to flip to the other side but still always be facing the user, I rotated smoothly from 0 to 90 degrees in the first half of the animation, instantly jumped to 270 degrees, then smoothly rotated to 360 degrees (identical to 0). This looks gross in code with the 49.9999% keyframe in code, but gave me the exact effect I was going for.
Definiting new color
As for setting the color, I had to get a bit clever with this. The tile-rotate animation only plays when I add a one of the validation classes to the element (ex. tile-correct). This allows me to define the color I want the tile to transition to. However, all tiles should start the same color. You can see at 0% I start at a hardcoded color (which really could be a CSS variable), then at 50% changes to background-color: initial;. This is what allowed me to define a different color for each validation class, and have the tile change to that color during the animation.
Offseting each tile
To offset the animations from left to right, I added this monstrosity:
1
2
3
4
.tile-row .tile:nth-child(1) { animation-delay: 0s; }
.tile-row .tile:nth-child(2) { animation-delay: .25s; }
.tile-row .tile:nth-child(3) { animation-delay: .5s; }
...
Not great code IMO since there’s so much repetition, but it’s simple and works. All this does is add a slightly increased delay for each child of the row, causing the left element to start with no delay, second child to have .25 seconds of delay, and so on.
Finishing touches
Finally, we have the animation-fill-mode: backwards; line. Remember that the tiles all get the new validation classes added at the same time? This means the tiles will instantly update to their new colors, then play the animation (which starts by setting the color back to the default gray color), and then flip to their new color. We don’t want that. So instead, the animation-fill-mode allows us fix that. Please don’t ask me how :)
Docker
I added Docker to this project at the end, which was kind of silly. Not too much to learn except don’t forget to use Linux Alpine and proper build stages if you want remotely small images